Google
 

Tuesday, March 15, 2011

Tie Dye Butterflies


I was wanting some spring decorations that we could make for our classroom. I don't remember where I saw this idea (it must have been 10 years ago) but these are really cute and simple to make.


For our tie dye butterflies we used bingo daubers, markers, coffee filters, and pipe cleaners (chenille stems).


Before you begin, be sure to write the child's name on the coffee filter. I chose to write their name in very small print on the outer edge of the butterfly.

To make the butterflies you don't have to use bingo daubers but our kids really like them so we put the daubers to use. We used the markers and daubers to color the coffee filters. Next, we just sprayed about 3 squirts of water onto the coffee filter and moved the filter around a little so that the water would make the colors run. If a child didn't color their filter very much then I scrunched it up to help the color spread.


We laid the coffee filters out to dry. We used recycled copy paper and newspaper on the tables during the coloring and drying process and it was very helpful.

Next, I used a pipe cleaner to make a body for the butterfly. I gathered up the coffee filter and wrapped the pipe cleaner around the middle a few times and then twisted it to make a body and antennae. It took a little practice to figure out how I wanted to wrap it, but I think it turned out well.


These butterflies are a colorful addition to our classroom. :)

Read More...

Friday, February 18, 2011

How to Dye Pasta for Crafts

It is super double coupon week at Harris Teeter and I managed to snag some pasta for only 30 cents a box! Since we don't eat much pasta in our home I decided to purchase some for the classroom.


Dying pasta is super easy, economical, and has many uses in arts and crafts projects. In our classroom we plan to make necklaces, bracelets, and collages. Stringing the pasta will provide an opportunity to improve fine motor skills. In addition to these ideas we can also use it for counting and making patterns.

As you can see, the pasta turned out bright and colorful. The colors remind me of fresh fruits and vegetables.

Ingredients:

  • pasta
  • large ziploc bag (I used gallon size)
  • food coloring
  • vinegar or alcohol
  • wax paper

Instructions:

  1. Add a few cups of pasta to your ziploc bag.
  2. Next, add about 10-12 drops of food coloring and about 1 tbsp of vinegar. (You can use alcohol but I prefer to use vinegar so that it's safe for the preschoolers that decide to put it in their mouth.)
  3. Close the ziploc and stir up the pasta to mix around the food coloring. You can let the noodles sit in the food coloring for a little while if you'd like a deeper color. (I didn't let mine sit and I am pleased with the color.)
  4. Dump out your noodles onto wax paper and allow to dry. You can let it dry on newspaper but I used wax paper so that I don't have to worry about the wet noodles drying to the paper.
  5. Let the noodles dry overnight. I made our pasta on Friday so that it would have plenty of time to dry over the weekend.

Money saving idea: To cut down on the number of baggies I used, I planned an order for dying my pasta so that I could reuse the bags. For example, I dyed yellow pasta and then used the bag to dye orange pasta. I knew that the orange would involve using the yellow and another color.

Read More...

Sunday, February 13, 2011

Construction Theme: The Three Little Pigs

One of our recent themes was construction. We used The Three Little Pigs as our main book for the week. Here are a few activities to go with the theme.

There are so many different versions of this story that I actually had a difficult time finding the original story. You could share the different versions with your class. Depending on their age and abilities, you could compare the differences.


We also read Our Tree House. This book talks about building a tree house and it shows the people working and building so we were able to point out the different tools and the purpose of the tools.

For our craft we made pigs. We used three circles for the body, head, and snout.

We have a blocks center in our classroom. We recently added some of the sturdy cardboard brick blocks to our collection.

My son had some toy tools at home so I borrowed them to take to school. They were a hit and they preschoolers have really enjoyed playing with the tools.


We are fortunate to have a nice manipulative center in our classroom which has many wooden puzzles.


I added some of these pig coloring pages in our art center that week as an optional activity. The kids could color and trace the word "pig". Other sources for printables: First School, Coloring.ws, Coloring Pages for Kids.

Other things we did during the week:
Read Humpty Dumpty
Sang the Humpty Dumpty song
Watched The Three Little Pigs from the Discovery Education website
We made The Three Little Pigs stick puppets. We used our puppets to retell the story.

Other activities to try:
Blow paint with a straw.
Pig craft (from paper towel roll)

Read More...

Friday, February 11, 2011

Snowman Photo Keepsake


This snowman doesn't need much explanation. It is simply a snowman that kids can help cut and assemble. Then the teacher can add a photo of the child for the snowman's face.
Be sure to check out the other snowman ideas.

Read More...

Tuesday, February 8, 2011

Heart People Craft

This week we're making heart people for our Valentine craft. We're also decorating our bulletin board with these cuties. The idea is very simple and I have seen it around for a while now so I am not sure where it originated.

As you can see, the body of the person is a large heart and the feet and hands are smaller hearts. We use strips of paper for the legs and arms. We folded them to give a crinkled effect. You could wiggle eyes or buttons for the eyes or you could hand draw them. We let the kids draw the mouth.

This is definitely an cute, easy, and inexpensive idea.

Read More...

Sunday, January 30, 2011

Snowman Arts & Crafts Ideas

January is almost over but it's not too late to make a snowman. These are just a few ideas I rounded up for you all. Enjoy! :)


Snowman Globe - This was made by a another pre-k class at the school where I work. As you can see, the globe is a blue painted paper plate and the globe stand is half of a brown painted plate.

Blistery Snowman Picture - We made these in our classroom. We invited the students to use their fingers or paint brushes to make snow. After the snow was dry we added circles for the snowman body, dry black beans for the buttons, and some twigs for the arms.


Snowman Window Scene - This was made by my son who is in kindergarten. They used crayons on black construction paper to draw a scene and then they added some brown strips on top of the picture to look like the scene was being viewed through a window.


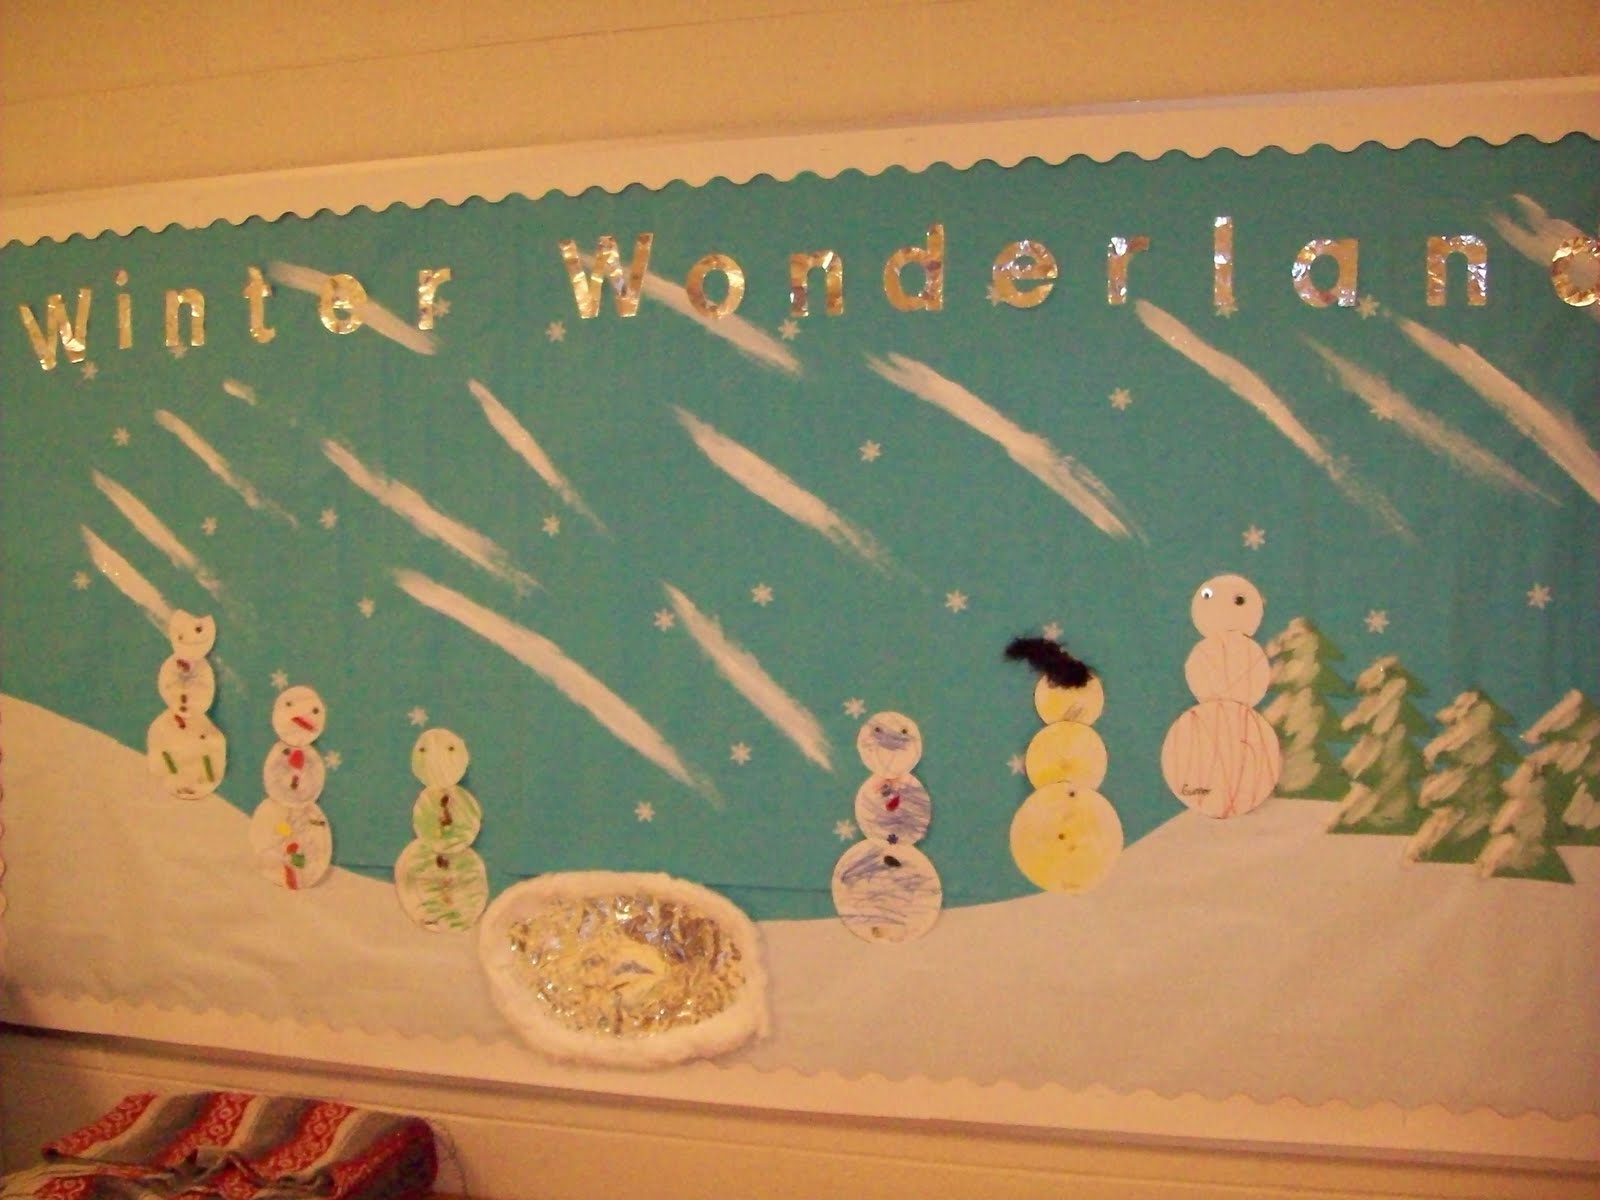
Winter Wonderland Snowmen - These were made by providing students with sequins, feathers, buttons, and other various craft supplies.


Other snowman ideas:
Marshmallow Snowmen
Paper Plate Snowmen Globes from Teach Preschool
Rice Krispy Treat Snowman from Edible Crafts
Build Your Snowman from No time for Flashcards
Create-A-Snowman Craft from Crafts-N-Things for Children

Read More...

Tuesday, January 25, 2011

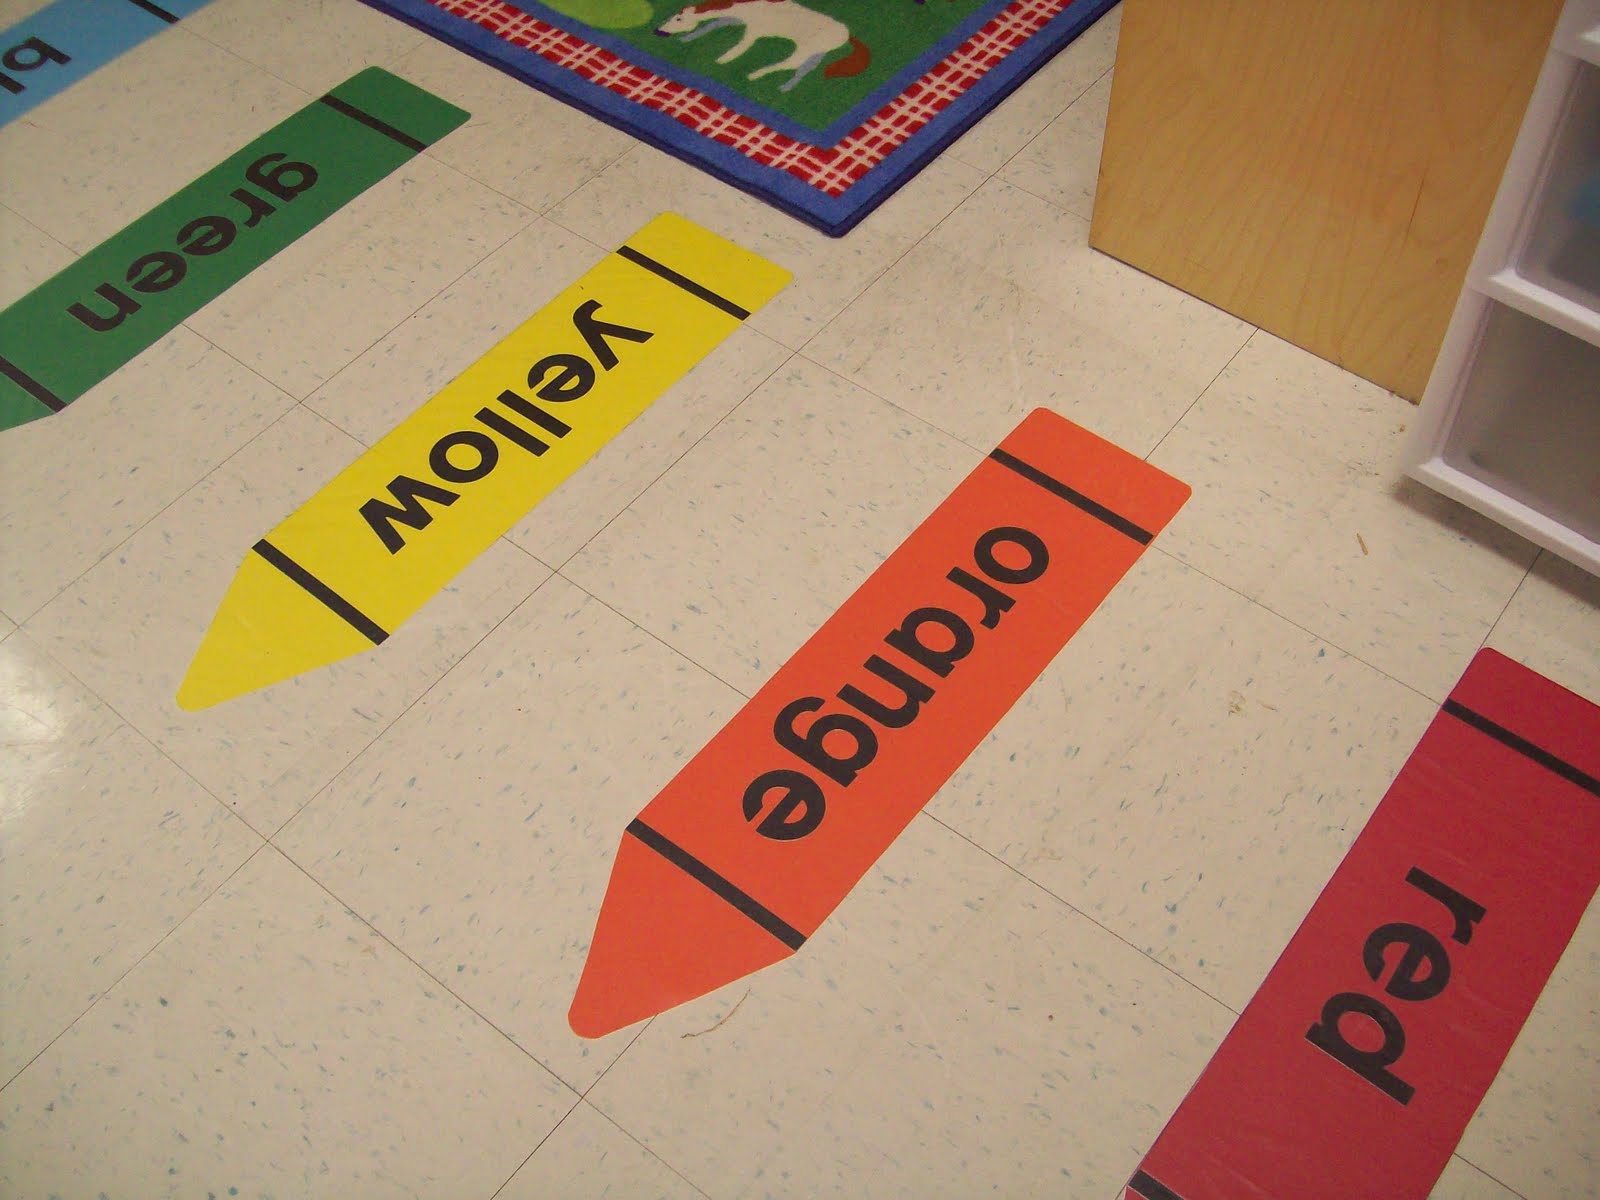
Line Up By Colors with Floor Crayons

One of the things were we struggling with in our classroom was lining up and staying in our own personal space. We haven't exactly mastered the concept yet, but these crayons sure are helping. ;)


I admit I can't take credit for this idea. I saw these recently at a school where I was observing and really liked the idea.

Our crayons are made from bulletin board paper. First, my assistant used a die cut machine to cut out all of the letters. This was her guide for how long the crayons needed to be. Then she hand drew a pattern which she used for all of the crayons. She glued on the letters and added a black stripe to make them look like crayons. We taped the crayons to the floor with masking tape and then added large pieces of clear contact paper over the top of them for durability. This also enables the floor to be swept and mopped.

The floor crayons have many purposes:

  • As already mentioned, the crayons help to provide some structure. It gives a defining place and tells the student that this is where we should be.
  • Use the crayons as an every day way to teach the children their colors when lining up (Sarah, line up on red. Ben, line up on orange.)
  • Use the crayons to provide spatial boundaries/personal space when lining up. (Stay on your color.)
  • You could also use the crayons for a game. Our children enjoy jumping from color to color. You could use bean bags and play a toss game.

What ideas do you have for the floor crayons?

Read More...

Thursday, January 13, 2011

Song: Look Who Came to School Today


Here's a song we sing at school. I wrote it on sentence strips. Each child gets a turn. They come up and find their name and put it in the line. Then we sing the song to them. They can dance, jump, etc while we sing their name.

This is a great song for name recognition. I chose pigs for the names because we are learning about The Three Little Pigs. It isn't necessary to choose a new die cut for each week; this is just something I did for now. You could change this according to season or you could use the same one for the entire year.

Look Who Came to School Today
tune of Here We Go Round the Mulberry Bush

Look who came to school today
School today, school today
Look who came to school today
___________ did!

source unknown

Read More...

Wednesday, December 15, 2010

Snowman Votive Craft


Parents and grandparents always enjoy cute handmade gifts from children, especially when they're made from handprints or fingerprints.

This snowman is simply made from a child's finger. Paint white paint on their finger and press lightly onto the votive holder. After the paint dries you can add the arms, buttons, etc with a fine tip brush or permanent marker. You might even want to paint the child's name and date on the side or bottom.

Teacher tip: When making handprint gifts, be sure to have the child look away as you press their hand. When the child is looking, they tend to press their hands themselves or jerk away from you which leaves a blurry mess.

This idea is very similar to the snowman ornament that I shared with you a few years ago.

Do you have any kid-friendly handmade gift ideas to share?

Read More...

Tuesday, December 14, 2010

Easy Gingerbread Man Ornament

Kids really enjoy making ornaments at Christmas time. Here's another easy ornament to try. These gingerbread men cut outs are made from craft foam. They were purchased very inexpensively at the Dollar Tree. Of course, you could use a gingerbread pattern to cut these out yourself.

Be sure to provide your little one with glue, glitter, buttons, sequins, etc to decorate their gingerbread person. Be sure to check out these other Christmas and ornament ideas.
Have fun!

Read More...